Start in Paris Streets: find the lever beside the barrels, enter the lower passage and defeat the Fallen to obtain Holy Cross and the first guardian key. This Castlevania: Belmont's Curse guide follows the next two keys through Prison Tower and the ruins beneath the cemetery. When progress stalls, check the barrel clue, switch to Holy Light for the barriers after Joan of Arc, and turn away from Medusa's gaze. With all three keys, return to the large gate in Paris Streets to enter the Catacombs.
Follow the Route: Three Keys Open the Catacombs
Follow the Castlevania: Belmont's Curse walkthrough for the guardian route, or open the chapter matching your current obstacle.
| Your next task | Where to go | What moves you forward |
|---|---|---|
| Find the first guardian | Paris Streets: the Fallen | Activate the hidden barrel lever, defeat the Fallen, then absorb and equip Holy Cross. |
| Reach the tower guardian | Prison Tower: Joan of Arc | Climb to the rooftop, collect Joan's key and use Holy Light to pass Chaos Shards. |
| Claim the last key | Cemetery and Underground Ruins: Medusa | Turn away from her eyes to avoid immobilization; Medusa cannot be grappled. Her defeat gives you the final key. |
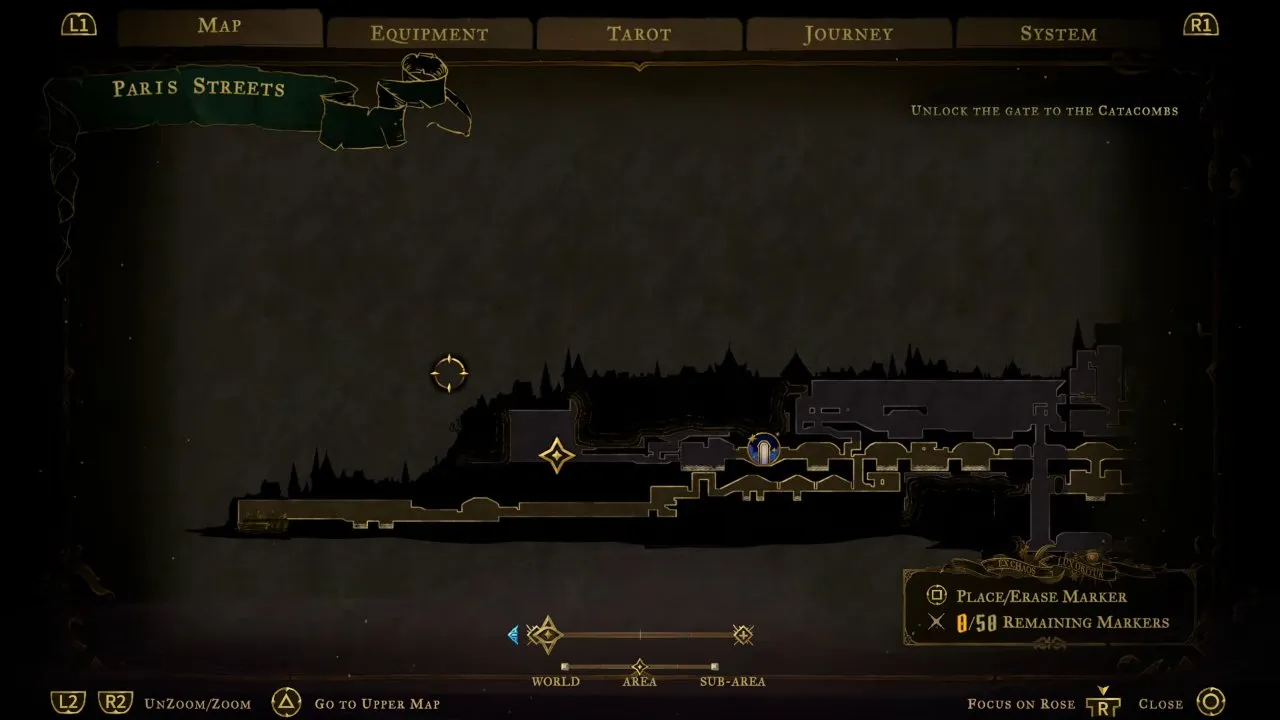
Check the Castlevania: Belmont's Curse map to retrace explored rooms, mark a return route and locate the junction: left leads toward the cemetery, right toward Prison Tower. Open the sewer boss shortcut before committing to the fight.
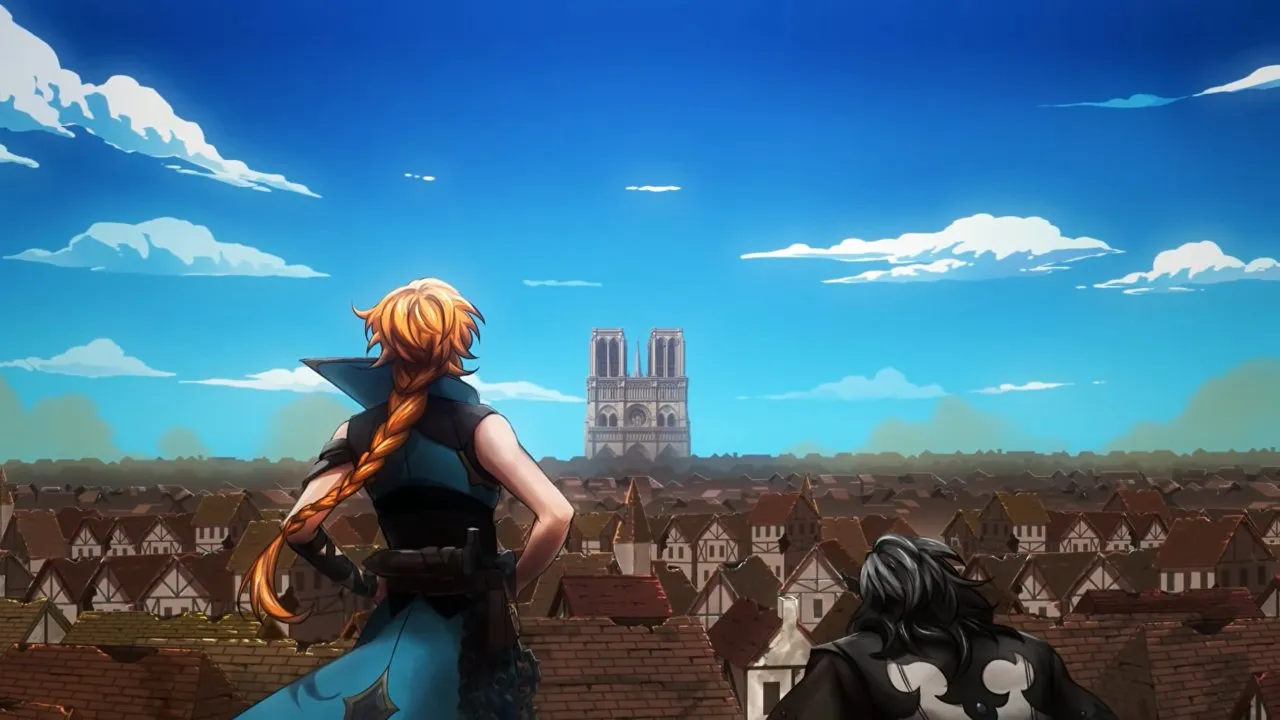
For the story behind your journey, the Castlevania: Belmont's Curse characters page introduces Rose Belmont, her father Trevor and her mother Sypha. Rose investigates Paris while Trevor speaks to the bishop.
Prepare for Combat: Counter Crosses and Choose Your Weapon
The Castlevania: Belmont's Curse bosses page covers encounters including the Fallen, Joan of Arc and Medusa. Strike the Fallen's thrown cross with your sword or magic, and keep attack openings short. Before Joan's rooftop fight, prepare your health and reserve mana for healing.
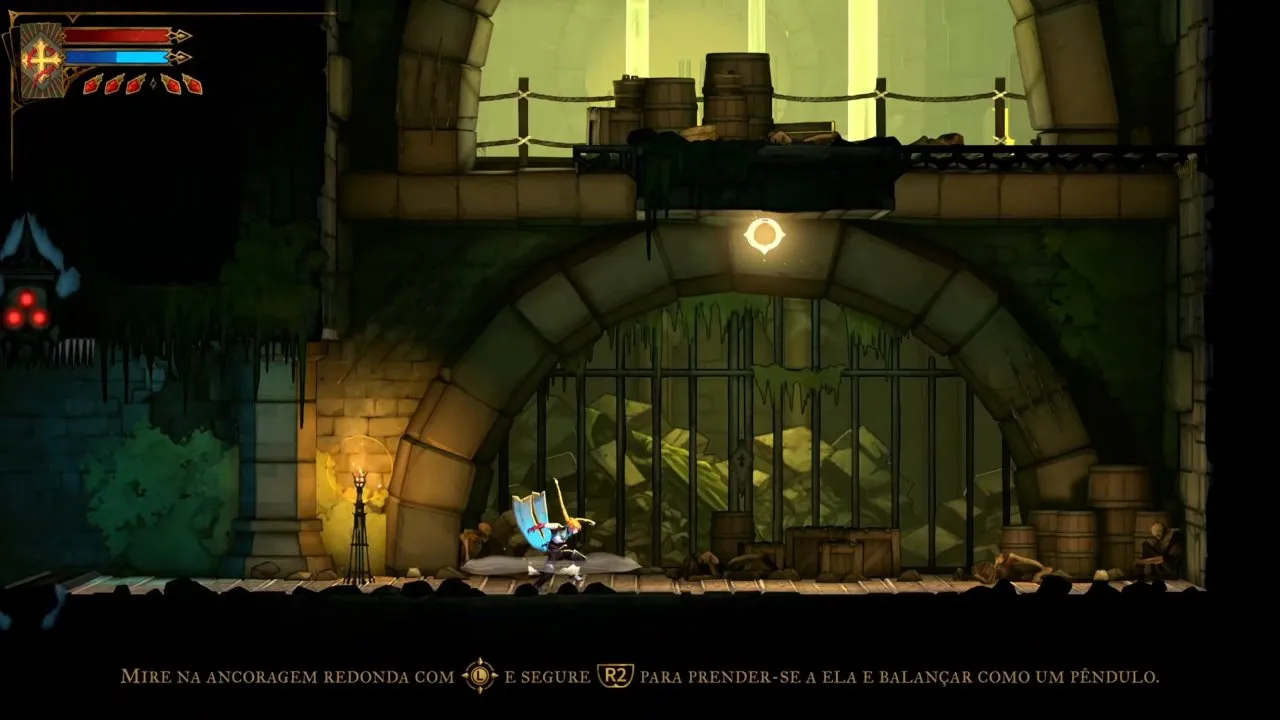
Compare Castlevania: Belmont's Curse weapons by how you fight: the longsword rewards an attack immediately after a backdash, while Cestus favors fast, close-range combos. For whip traversal, round anchors let you swing and diamond anchors pull you toward them.
To change difficulty, open Settings → Gameplay → Custom Mode. The Castlevania: Belmont's Curse difficulty and options page explains damage dealt, damage taken, boss restart location, button configuration and screen shake intensity.
Equip Your Powers: Arcana Spells and Relic Protection
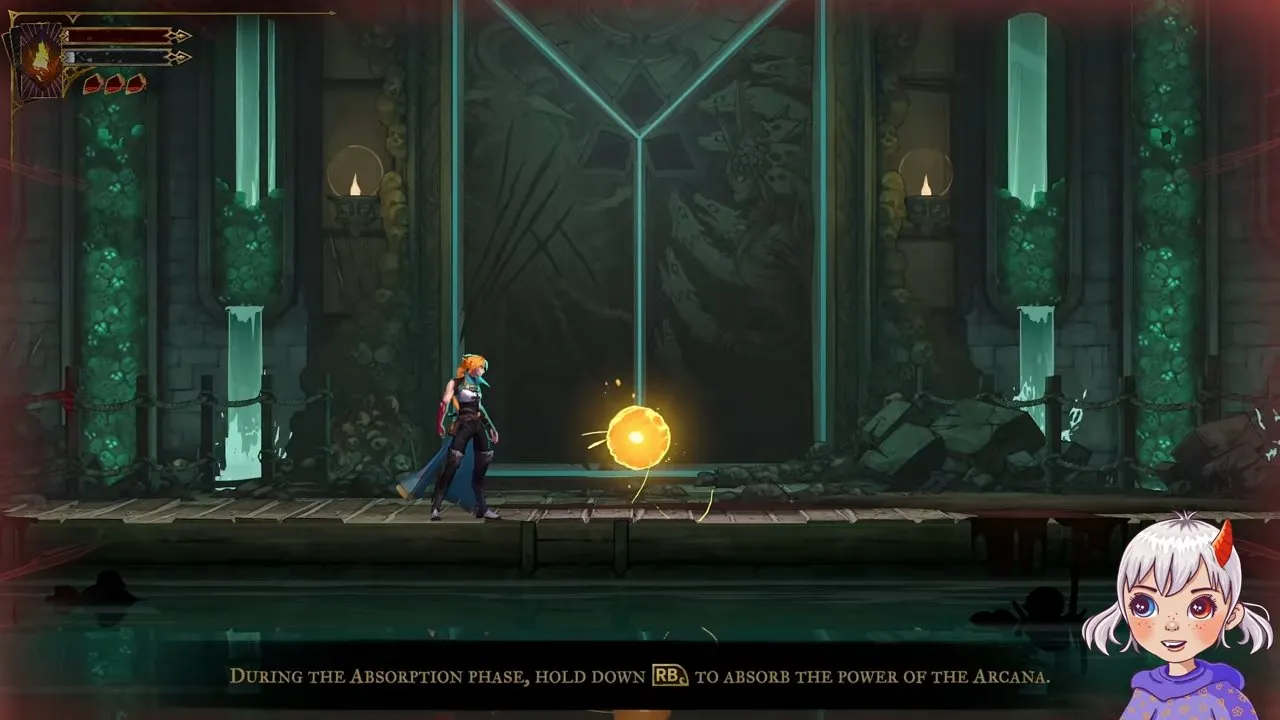
After a boss defeat, absorb its Arcana and replace your equipped spell in Equipment. The Castlevania: Belmont's Curse tarot cards page explains Tarot clues, Works of Mercy and Blessings. The Fallen gives Holy Cross, Joan's Warrior card gives Holy Light, and Medusa's Prophetess card gives Petrifying Gaze.
For the Holy Cross upgrade challenge, hit five enemies with the same cross; the hits do not have to happen simultaneously. Let enemies follow you, then throw the cross through the group before choosing an available upgrade.
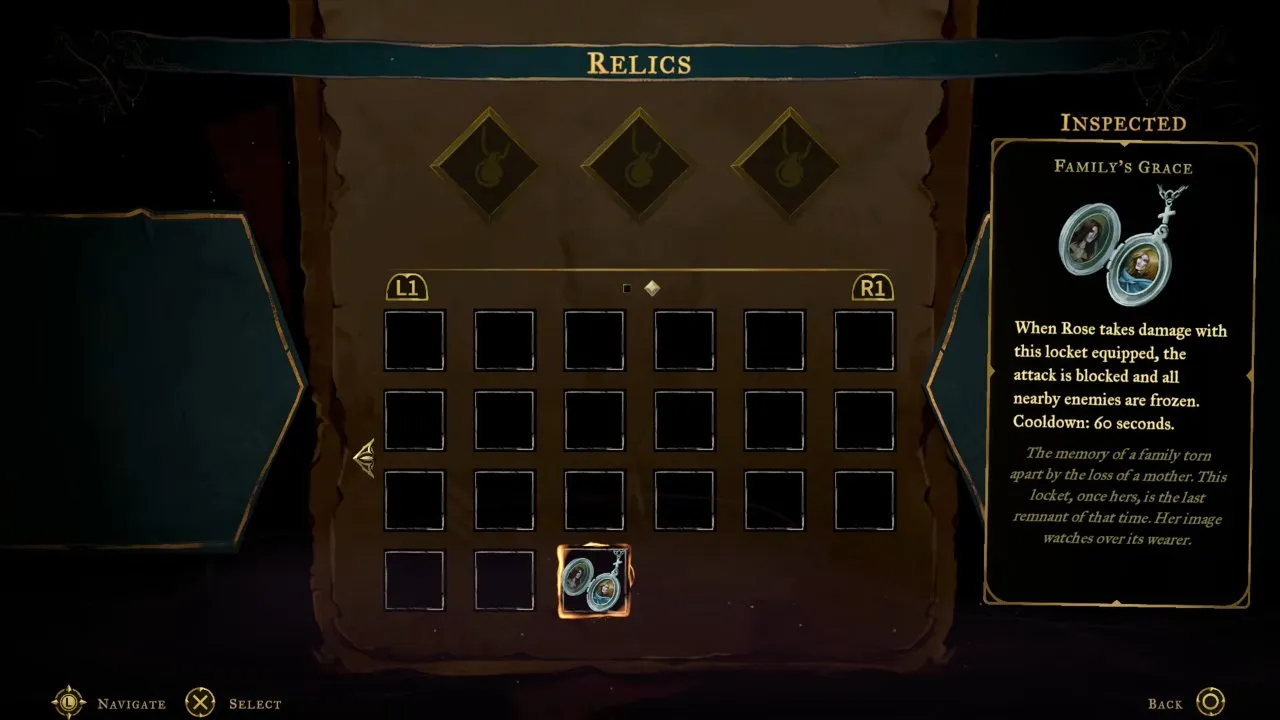
The Family's Grace relic blocks an incoming attack and freezes nearby enemies when triggered with the locket equipped. Its 60-second value is the cooldown.
Plan Completion: Every Weapon, Blessing and Ending Reward
Check the Castlevania: Belmont's Curse achievements for 29 achievements, or 30 trophies including Platinum. Collection goals include every weapon, every health and mana upgrade, all clues, all blessings for every Arcana and activating every mirror of life.
The bad, normal and true endings have separate rewards, while Dialog Skipper requires finishing in less than four hours. For True Belmont, equip a whip and finish an enemy with Holy Cross.