Follow the Death Marks, lose the scripted Death fight, then take the Ferryman to Paris Streets. The Catacombs in Castlevania Belmont's Curse open after you defeat the Fallen, Joan, and Medusa and collect their keys. On the way down, you'll lower dragon skulls to make ramps and collect the Whip before confronting Death.
How do you reach the first save point in the Catacombs of Paris?
Descend through the Catacomb Entrance and Path of the Abyss to the Mirror of Life on the left side of the Quarry Elevator. If you're still collecting the last entrance key, finish the Cemetery and Underground Ruins first.
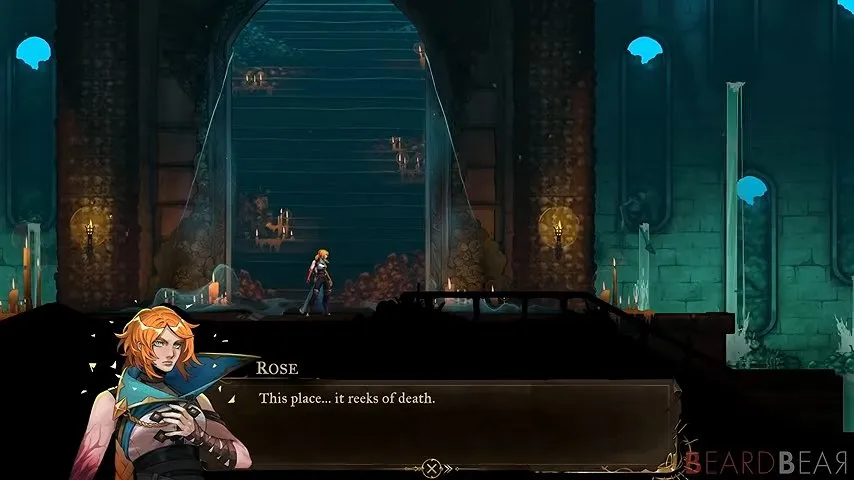
- Take either starting path and drop to the cross. Go left, since spikes block the right route.
- Use Holy Light to descend through Chaos Shards. Hit a Skull Spider once, then slide away before it explodes. At the Bone Pillar, watch the yellow eyes for a change in firing direction and break the heads that aren't breathing toward you.
- Exit right. Alternate Holy Light with wall jumps: turn it on to pass through a wall, then off when you need the shards to support you.
- Continue east into the Path of the Abyss. At the far wall, descend through the saws carefully rather than rushing into the spike pits. Save at the Quarry Elevator.
For the Brave Heart Fragment along this descent, take the Sharpened Anchor north after the Hunched Skeleton ambush. Swing through the Chaos Shard platforms with Holy Light, catch the Anchors before falling into spikes, then drop to the grate holding the fragment. Slide out with Holy Light to rejoin the route east.
How do you find the Death Marks in the Catacombs?
Speak to the Spirit in the Charnel Galleries to receive the Death Mark Clue, which labels the green sigils on your map.
From the Quarry Elevator save point, go west through the Crossroads of the Dead into the Charnel Galleries. Pass the Chaos Shard walls, defeat the enemies, and swing upward. In the room with rotating saws, wall jump up the right side and catch the Sharpened Anchor, watching for the blade above it. The Spirit is above the eastern exit.
After speaking to the Spirit, exit right and unblock the earlier door. Break the wall left of the Spirit's position to open a drop that bypasses the saws and reaches a lever near the exit. Follow the marked trail down the left side of the Catacombs.
Before leaving the Quarry Elevator behind, you can also take the eastern path above the Lift for the Mourning Bead. Climb past the saws and strike the ceiling lever to open its chest. The relic briefly increases movement speed after a kill. On your way back down, the barrier to the Virgin Mary Statue is gone, so break it before returning to the save point.
How do you lower the skulls at the Crossroads of the Dead?
Reach the Crossroads from its side rooms and activate the levers to turn the huge dragon skulls into descending ramps.
- Follow the Death Marks into the enemy gauntlet. Defeat the Biphrons, Skull Spiders, and the Giant Skeleton that joins them, then exit east. Pull the lever to lower the first skulls. You can return to the Mirror of Life to heal here.
- Descend east into the Chamber of Whispers. Wait for gaps between saw blades and use the Sharpened Anchors for cover. Holy Light opens hiding spaces beneath the track, but it also removes Chaos Shard footing. Beneath the long track, the safe landing spot is directly under the Anchor.
- Activate the shortcut lever near the Death Mark. Break through the left wall there to return to the Crossroads and collect the Pair of Longswords. These suit fast, sustained combos; see the weapon types if the slower Whip doesn't suit you later.
- Pull the lever west of that chest. A breakable wall atop the next skull hides Wall Chicken. Drop into the Gallery of Teeth, break the statue, then return to the Crossroads and take the next western exit below.
- In this second Gallery section, deal with the Skelerang and the Hunched Skeletons beneath the false floor. Wall jump to the statue, then break the eastern wall where a skeleton emerged. Follow the large Death Mark through to another skull lever.
- Defeat the Bone Pillar and descend southwest across the skull into the next platforming room. Cross its saws with Anchors and Holy Light, then exit right. Pull both levers in the lower Crossroads section, swing back up, and descend the newly lowered skulls to the southeast exit.
Near the end of the southwest platforming room, activate Holy Light while an Anchor pulls you through a Chaos Shard wall, then switch it off to land on the shard platform. A small gap beside the wall can drop you to your death. Don't leave Holy Light on through the landing.
How do you get through De Rais Necropolis?
Break down the tall Bone Pillar in De Rais Necropolis, clear the enemy gauntlet, then enter the Jaws of Limbo and open the central descent with its lever.
Head east past the Bone Pillars, then descend until a tall pillar blocks you. Stand on top and destroy its heads as you work downward. At the bottom, Wall Chicken is hidden to the right. Slide through the gap, defeat the enemies, and continue left to the Jaws of Limbo.
Swing up to the lever and remove the barriers below. Before dropping down the central shaft, you can go west for the Necro Charm, which increases damage after a kill:
- Wait for a saw to pass, then run along its track. Use Holy Light to duck into the gaps when the other blade approaches.
- Descend the spike-lined shaft when the blade is clear and catch the Sharpened Anchor. Cross the collapsing wooden platforms without stopping on them.
- Wall jump upward and use Holy Light to pass through the shard wall. Slide into the alcove to break the Virgin Mary Statue.
- Keep climbing, using wall gaps as resting places between the separate saw tracks. Cross right through the shard wall, use the Anchors, and pull the lever by the chest to open the exit shortcut.
Return to the Jaws of Limbo and drop down the central shaft into the Throat of Hell.
Where do you find the Whip in the Catacombs?
The Whip is in the chest in the Hall of the Fallen Angels, beyond the Blood Pits.
Before heading there, swing west from your Throat of Hell landing point for a Wise Heart Fragment over spikes. The Sharpened Anchor above leads to the Ebony Claw chest; this relic extends the stun after you break an enemy's guard. Continue into the Realm of Old Night, clear its gauntlet, and save at the Mirror of Life.
Return to the central Throat of Hell and enter the Condemned Mineshaft. Its Lift connects back to the Quarry Elevator. Continue down and right into the Blood Pits, crossing the gaps and avoiding exploding Skull Spiders.
At the Death Mark, drop and slide into the enemy room. Break the left wall near the falling platform for a Virgin Mary Statue; another is hidden on the right near the Biphron. Descend to the bottom and run west before the wooden floor collapses. The Anchor leading up and right gives access to Chaos Shard walls you can climb for a Brave Heart Fragment.
Continue through the dark red room, crossing left and then right over the saws. At the bottom, the western wall hides Wall Chicken if you need health. Follow the Death Mark east, open the Whip chest, and defeat the enemies that arrive after the cutscene.
The Whip has a delay between attacks, and its tip deals the most damage. Reposition so the tip connects, including with diagonal or jumping attacks, instead of standing close and trying to mash through its recovery.
Can you beat the first Death encounter in the Catacombs?
You cannot win the first Death encounter; the scripted defeat advances Rose's story.
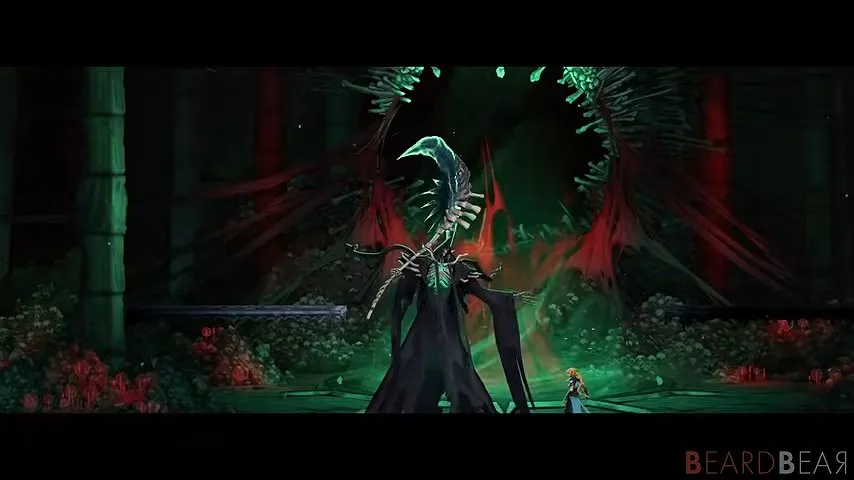
After collecting the Whip, take the southern exit. The left exit leads to spikes and saws you can't cross yet. Descend through the Stairway to Hell, defeat the Giant Skeleton and the other enemies, then activate the lever in the next room. It opens access to the second Lift, giving you a route back to the Mirror of Life before the boss door.
Enter the boss room and continue through the confrontation. Landing attacks doesn't change the outcome, so don't treat the loss as a reason to reload or hunt for a stronger weapon. For Death's place among the other fights, see the bosses.
How do you return to the surface after Death?
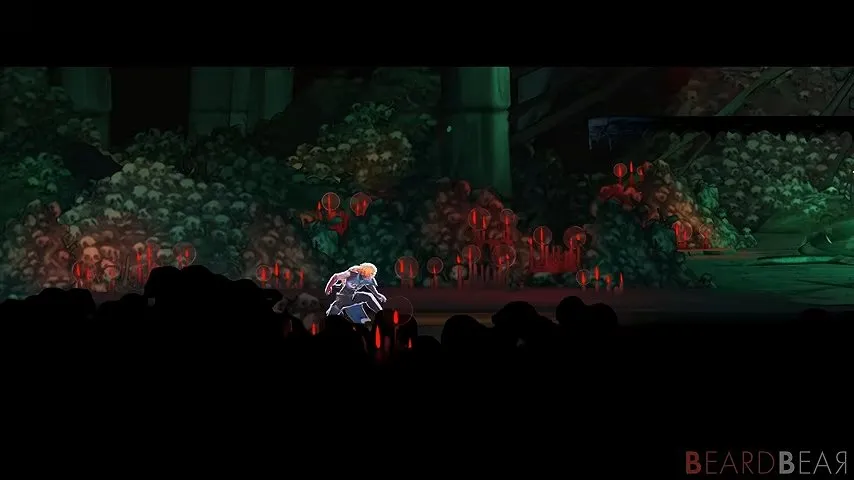
Climb the Collapsed Path of Orpheus, enter the Ferryman's Wharf through the blue-symbol door on the right, and ask the Ferryman to take you to Paris Streets.
- Wall jump and use Holy Light to pass through the Chaos Shard walls. Catch the Anchors to keep climbing. Break the Virgin Mary Statue in the right-hand alcove along the way.
- In the next room, swing left, then right. Combine Sharpened Anchors and Holy Light to cross the collapsing wooden platforms, then keep climbing to the red pyres at the top.
- Take the right exit to the glowing blue door. The left exit returns to a blocked part of the Realm of Old Night, though you can break a statue there.
- Enter the Wharf and speak to the Ferryman. Choose Paris Streets to return to the city.
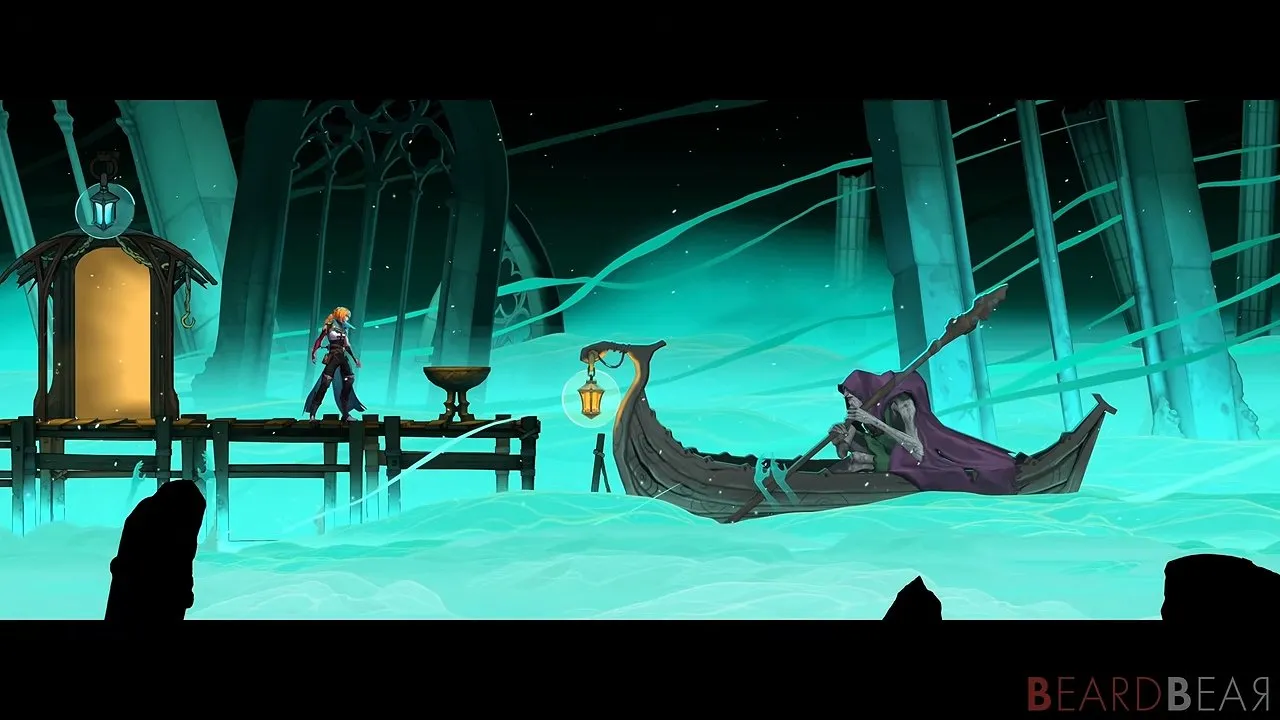
The Ferryman lets you travel between discovered areas. You can also crouch before a Mirror of Life to enter the Hall of Mirrors and travel between unlocked mirrors within your current region.
You leave the Catacombs with the Whip and access to the Ferryman, while Rose's objective is now to reach Dracula's Castle. Back on the surface, continue with the Justice District walkthrough.