Find the west-side hidden door, then crouch before a Mirror of Life to enter the Hall of Mirrors. In Castlevania Belmont's Curse, Dracula's Castle begins with the Main Hall, where hidden passages open the route through the area. Once you reach the castle, kneeling at mirrors also gives you access to discovered rooms within the same region.
How do you explore the Main Hall's hidden passages?
Look for the hidden passage on the west side and go through its hidden door to reach the rest of the Main Hall. Make finding that door your first priority: the hall contains traps and several concealed doors connecting different parts of the area.
- Search the west side for the hidden passage.
- Enter the hidden door to open your route through the hall.
- Keep checking for concealed connections as you explore beyond it.
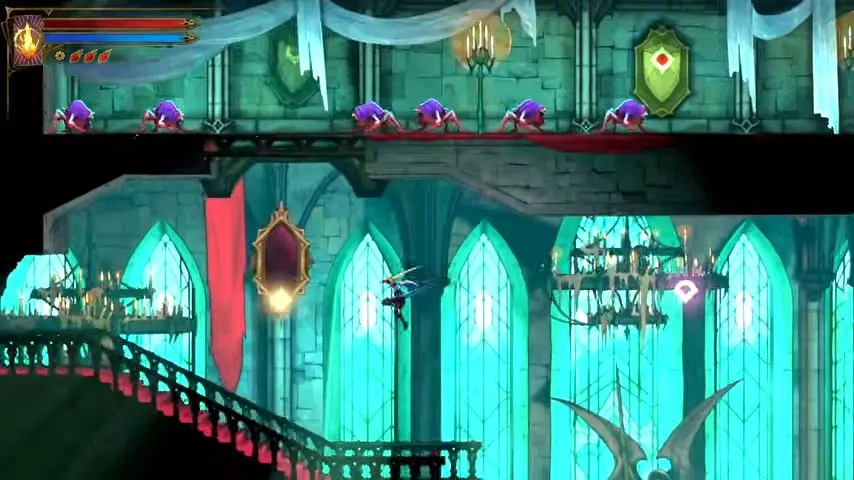
Around the hall's staircases, chandeliers hang beneath the upper walkways. These open interior spaces are part of the Main Hall route.
How do you travel through the Main Hall's Mirror Rooms?
Crouch in front of a Mirror of Life for a moment to enter the Hall of Mirrors, then inspect a destination mirror and crouch again to travel to its room. The old woman's demand that you kneel before royalty is your clue to this action.
- Stand before a Mirror of Life and hold your crouch briefly.
- Inside the mirror hub, interact with a mirror to see which room it leads to.
- Crouch before the mirror for your chosen room to warp there.
Each hub connects rooms within its own region. You need to discover a destination's Mirror of Life room before you can travel to it. If you cannot interact with a mirror to see its destination, choose another discovered destination instead.
The Main Hall mirrors are grouped as follows. Match these names to your destinations when planning a return trip with the Castlevania Belmont's Curse map.
| Main Hall section | Mirror destinations |
|---|---|
| Main Hall | Entrance Corridor, Boudoirs, Ballrooms, Elevator Tower |
| Back Rooms | Waterworks, Torture Chambers, Servant's Quarters, Storerooms, Archives |
A Mirror of Life engraved with the Sage's Seal does not provide ordinary fast travel. Travel to a nearby working mirror, then approach the sealed mirror on foot.
How do you reach the Main Hall's Sage Seal in the Archive?
From the Ferryman's Wharf, head northeast, climb to the upper floor, and take the upper eastern route from the statue to reach the dimensional door for the Servant's Hall. The sealed Mirror of Life is northwest of there, in the Archive.
- Leave the Ferryman's Wharf heading northeast.
- Use your abilities to climb to the upper floor.
- At the statue, take the upper eastern route.
- Enter the dimensional door to the Servant's Hall.
- Move northwest to the Mirror of Life in the Archive.
- Bow before the mirror, break the seal above the mirror inside, and defeat the enemy waves before leaving.
This seal is part of freeing the Sage, Queen Eleanor. Defeat The Temptress in the Hall of Mirrors before tackling the seals. Clearing the Main Hall seal alone does not finish her quest: the other seals are in Paris Street, Clock Tower and Notre-Dame.
Where do you find Queen Eleanor after breaking the seals?
Return to the Main Hall Mirror Rooms after breaking all the Sage's seals to unlock the Hall of Mirrors as a travel destination. Then visit the Main Hall's southeastern Mirror of Life for Queen Eleanor's final clue.
Entering a regional mirror hub by crouching and unlocking the Hall of Mirrors as a destination are separate steps. For Eleanor's final clue, finish the seals and return to the Main Hall Mirror Rooms first.
The clue sends you toward Holy Innocents' Cemetery. Head to the Mausoleum of the Queens in its western part, then continue to the Tomb of the Noble Queen to meet her again and claim Mirror Walk.
With the Main Hall explored, continue the castle route in the Observation Tower.